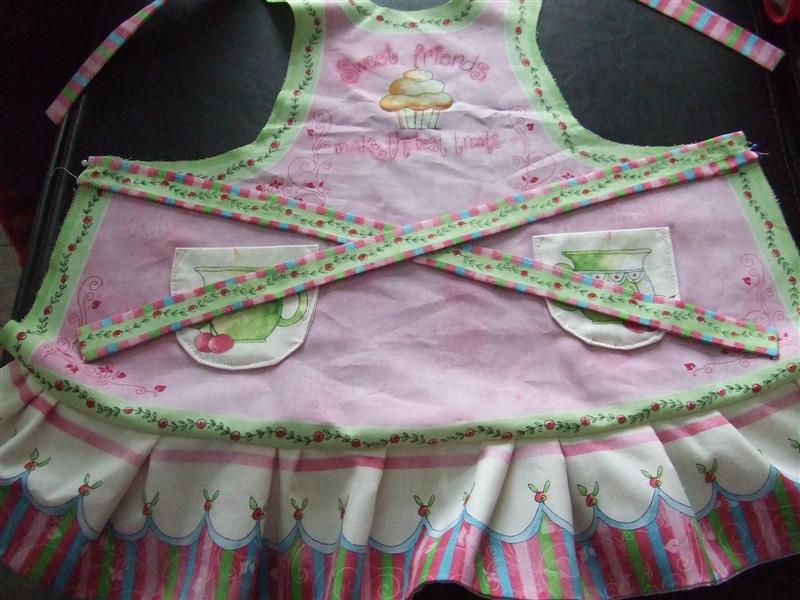
It is finished!
At least the apron part. And with several hours to spare, I might add. E2's birthday isn't until tomorrow, you know.
The apron saga has not actually been too bad, so far. I'm pretty impressed with myself.


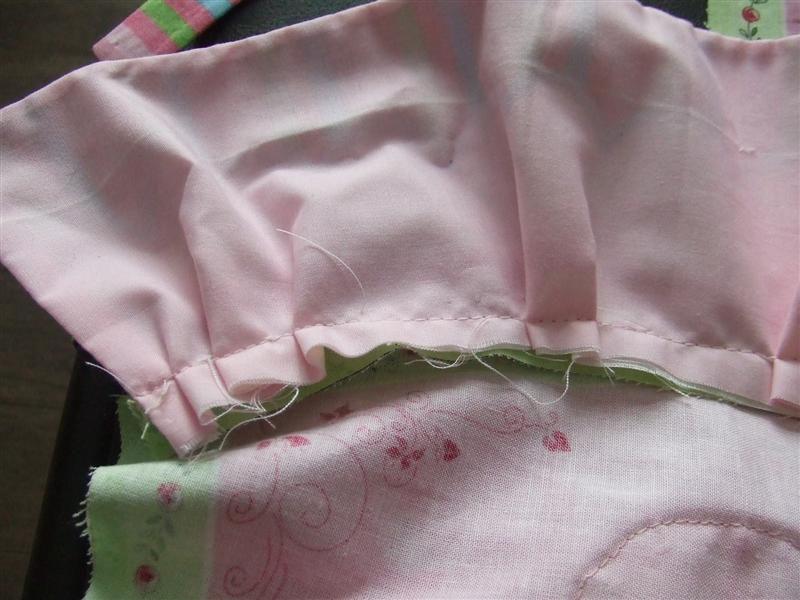
 Here we have the back of the ruffle, all nice and neat.
 And the, er, pockets. Which, in hindsight, I sewed on backwards. The cup handles probably should have been to the inside. On the plus side, I did remember to do the little triangle stitch thingy in the corner. This builds a stronger pocket. Something that will certainly come in handy when carrying around ponies.
 The bottom front of the ruffle is just a tad uneven. This is what homemade is all about. Or at least, this is what I tell myself.


1.
2. At least the apron part. And with several hours to spare, I might add. E2's birthday isn't until tomorrow, you know.
The apron saga has not actually been too bad, so far. I'm pretty impressed with myself.
Once I conceded that I would just have to hand gather the ruffle, things were rolling right along.

The ruffles actually turned out pretty even, too.
The pockets, however? They took minutes off my life. Maybe even an hour.

What I thought was a fairly smooth and even rounded edge wasn't so much so. At least once I turned the pockets right side out.

This stuff here is a life saver. Snip off a piece of this tape-like stuff, iron it down, peel off the paper, stick the second piece of fabric to it, and poof! A forever seal.

After spending agonizing, grueling minutes attempting to perfectly align the non-uniform pockets, I again deviated from the instructions Shocking, I know. I had the audacity to machine stitch the pockets right onto the front panel of the apron, instead of the baste stitch it calls for after the whole thing is put together.
Next, I had to mentally wrap my head around where the neck and waist ties would need to be on the finished product, so I could figure out where to place them on the unfinished product. Got that?

Looks a bit interesting right now.

Then for the pretty pink lining. We are getting close.

Pins. Lots and lots of pins. Except I put them on the wrong side, which made sewing just a leetle bit tricky.

Now it is time to snip! But carefully, lest I undo my hard work.

It is important to make these little snips anywhere there is a rounded edge to be turned. Otherwise it bunches and puckers and just looks messy. And who wants a messy apron? Hmm?

Square corners also need to be trimmed on a 45 degree angle. This will ensure nice, sharp corners. Once you use your seam ripper and paper boner to poke out the corners. Try to avoid bleeding on your almost finished project. It will make you cry.

Once it's folded right side out, time for a leetle trip to Mr. Iron, where we'll press under a hem.

Nice and even all over. Ready to be stitched!

And - ta da! A lovely little apron for my lovely little girl.


But the neckline is nice and smooth. Look at it, a snipped piece of perfect. Say that three times fast.

And there we have it. And now, off to wrap a couple of Lalaloopsy dollies and a Barbie shirt. Heck, I've got a few hours to spare. Why rush it?


